Friday, 14 December 2012

Chefette's Victoria Sandwich Sponge Cake

The Victoria Sandwich Sponge Cake is probably the most popular and stock standard cake in the UK. In Australia, I guess our typical type of Birthday cake would be a chocolate mud, well in the UK it is the classic Victoria Sponge. I wouldn't describe the Victoria Sandwich as a sponge by my maybe Aussie definition, but more like a butter or pound cake. The cake was named after Queen Victoria who favoured this cake with her afternoon tea over all other sweet treats. Victoria Sponge recipes barely differ, but as I find this cake a bit too heavy, I have changed the method, which made the cake far less dense.


Victoria Sandwich Sponge Cake

200g caster sugar
200g butter
200g self-raising flour
4 eggs separated
1 tsp baking powder
1 tsp cream of tartar
2 tablespoons milk
1 tsp vanilla bean paste

1. Preheat oven to 180°C and grease and line two baking tins.
2. Beat egg whites and cream of tartar in an electric mixer until soft peaks form, set aside.
3. Cream butter and sugar in an electric mixing bowl and gradually add egg yolks, vanilla bean paste, milk and flour (in that order).

4. Gradually fold egg whites into cake batter.
5. Traditionally you halve the batter and bake two cakes and sandwich them together once baked, however, I separated my batter into halves and coloured some red and baked four individual cakes rather than two. Completely your preference. Be creative!

6. Bake until cake springs back or when a skewer comes out clean.

Assembly 

Victoria Sandwich Butter Cream

100g butter
140g icing sugar

1. Blend butter and icing sugar together in electric mixer until smooth.

In between every layer OR in the middle of your two sandwiches, spread a layer of strawberry or raspberry jam and the Victoria Sandwich Butter cream.

Decoration

Quite often icing sugar is sifted on top, but I used a hard white icing and then piped on some roses in royal icing to finish it off and give it a special touch.


Happy Caking xxx

Sunday, 9 December 2012

Cannoli with Crema di Pasticceria

Given that the festive season is upon us, I thought I would share a little family classic. This is the kind of food we have at parties and celebrations and Christmas. Cannoli are a Sicilian pastry dessert, cannoli essentially means little tubes, traditionally they are filled with ricotta cream or another kind of sweet pasty cream/custard which I will show you below. Now I normally love making everything from scratch, but given these tiny tubes are consumed in seconds but are time-consuming to make, I always buy the shells and then fill them myself. I know shells are readily available in Australia from a good continental deli, but finding them in the UK has been seemingly difficult. I ended up purchasing my shells from my local Antonio Carluccio restaurant for a staggering £12 which is about $20AUD for 24 small shells, but it was all worth it, they disappeared in minutes. So here is my recipe for Cannoli Crema di Pasticceria.


These were the only cannoli shells I could find!

Crema di Pasticceria (fills 24 cannoli shells)

1/3 cup cornflour
1/3 cup of custard powder
1/4 cup caster sugar
2 cups milk
2 teaspoons vanilla bean paste or essence
300ml cream
1 egg yolk (beaten)
2 tbls of liquor (only if you like)

(150g of mixed dark/milk cooking chocolate for half the mixture to be chocolate flavoured)

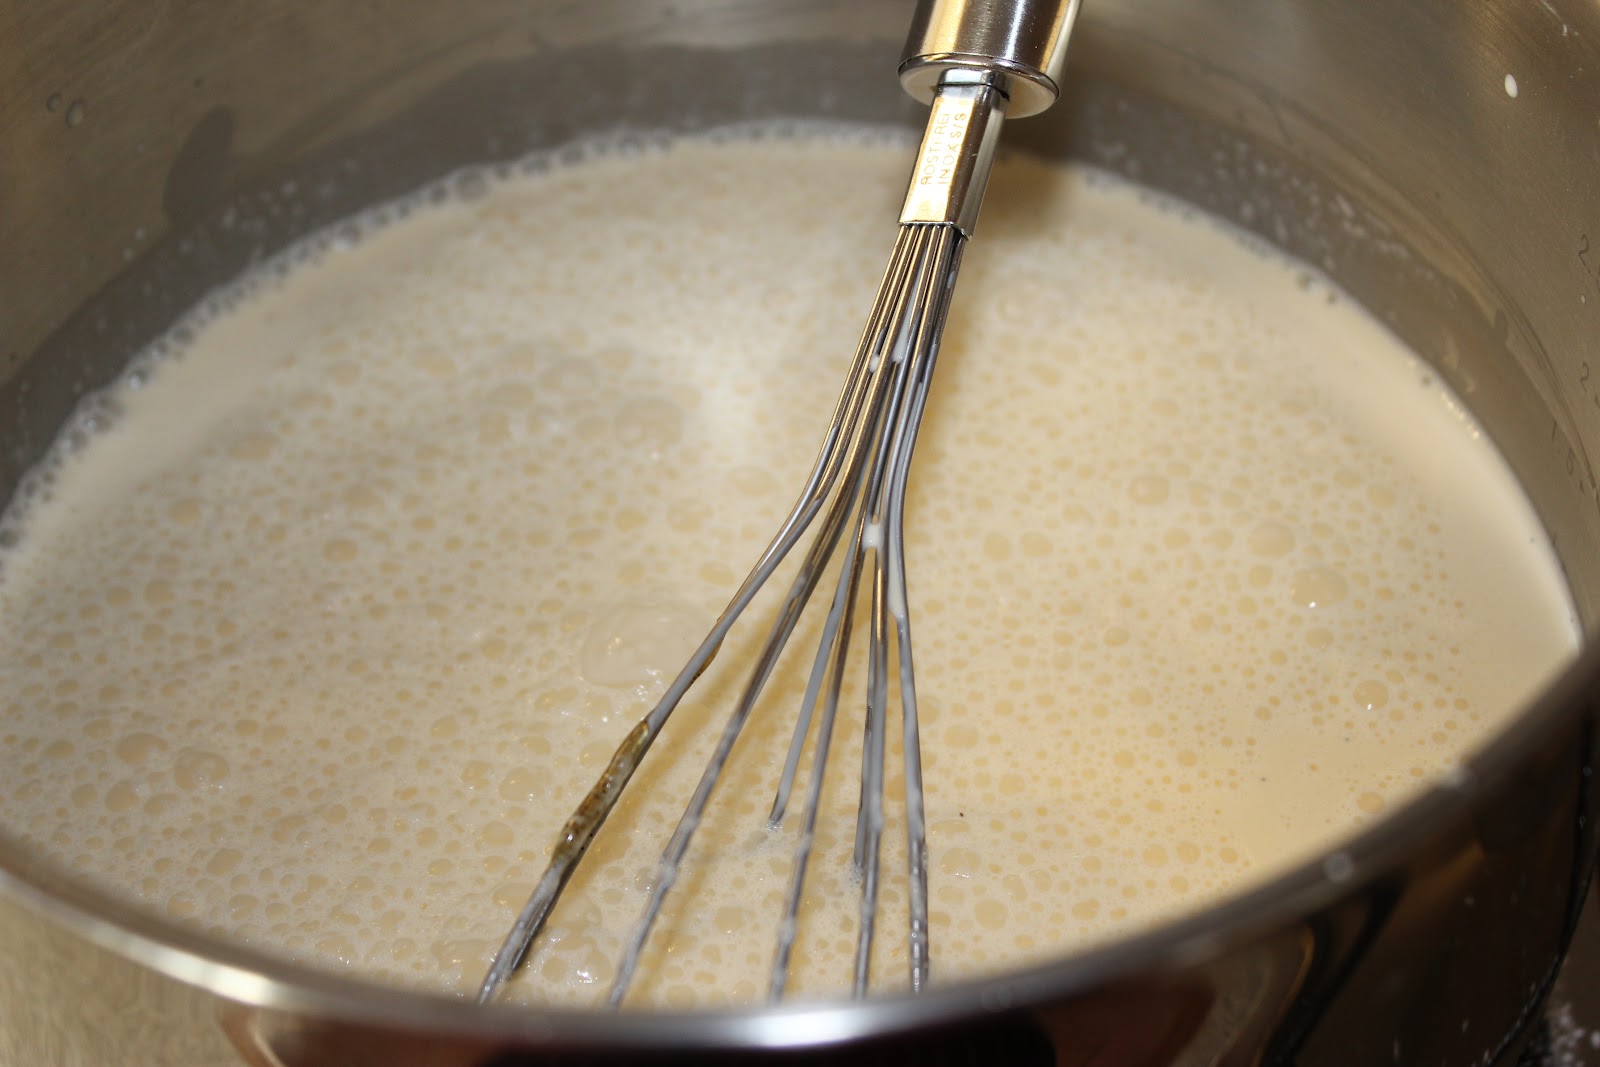
1. Sift cornflour, custard powder, and caster sugar into a pot and stir to combine.


2. Gradually add milk and whisk until smooth and free from lumps.


3. Add vanilla bean and cream and continue whisking until combined.


4. Turn heat on. Whisk over a low heat until mixture begins to thicken and simmer.


5. Remove pot from heat and allow to cool slighly before adding the beaten egg yolk. Mix well.

6. Separate mixture evenly into two bowls.

7. Pour in melted chocolate into one of the bowls to make a chocolate version of the crema di pasticceria.


8. Cover bowls with cling film and refrigerate either over night or for several hours. Don't worry if mixture is slightly lumpy at this point.


9. Remove from fridge and place mixture into an electric mixing bowl and beat for a few minutes. This will remove any lumps from the cream and will make the mixture smooth and easy to pipe.


10. Fill piping bag up with mixture and pipe vanilla through one side and chocolate on the other. This means you get the best of both in one tiny tube. (Note: It is best to pipe the mixture as close as possible to serving so cannoli shells are still crispy)

11. Once piped, sift icing sugar on top for serving. Enjoy!


Wednesday, 28 November 2012

Chefette's Italian Shellfish Stew!

Now I apologise in advance for the lack of specific quantities in this recipe, but when you're cooking true Italian style, "a little bit of this" and "a little bit of that" are perfectly fine. This dish is PACKED full of flavour, is relatively cheap and providing you don't over indulge on fresh ciabatta bread, it is relatively healthy.


Italian Shellfish Stew

1 bag of mussels (de-bearded)
350ish grams of green prawns
A whole crab or some large crab legs
(Any other seafood that takes your fancy)
1 litre of tomato passata
Some fresh tomatoes
4 cloves of garlic
Fresh chilli
Parsley
Olive Oil
1 red onion
White Wine
Ciabatta bread for serving


1. Start by ensuring all your seafood is clean and ready to use.
2. In a large pot with a generous amount of olive oil, add diced onion, chilli and garlic and fry until soft, but not brown.
3. Add a generous splash of white wine, and by splash maybe 1 cup or so.
4. Add passata, chopped tomatoes and large handful of chopped flat leaf parsley to the pot and simmer for about 30 minutes. (Add salt, pepper and sugar to the sauce to taste)
5. Add shellfish to the sauce and simmer with the lid on for about 20 minutes or until mussels have opened up. (Depending on the seafood you're using and the size, this time will vary. Also if you have smaller prawns you may want to add these last as they won't take long to cook.
6. Serve with ciabatta bread, which is delicious to soak up the beautiful sauce!


Tuesday, 27 November 2012

Chefette's Pumpkin Pie

Pumpkin Pie is something I have always been curious about as a keen foodie, you can't watch an American TV show centered around Christmas or Thanksgiving that doesn't feature the humble pie. It is such a strange concept for me, putting pumpkin in a pie, and given that it has just been Thanksgiving in the US and having many American friends, I had to try making my own. Pumpkin was initially used in American pies as a filler, but gradually over time, people loved the taste so much that it became the "star" of the dish. Now to be completely frank, this was the first time I have made Pumpkin Pie and eaten it, so I have no idea whether it tastes the way it should, but upon serving I had clean plates, which is always a good sign, so it could not have been all that bad. Also it is so easy peasy and such a lovely taste of winter! Special shout-out to my Missourian friend Amber for her invaluable Pumpkin Pie advice ;-) So here's my take on Traditional American Pumpkin Pie.

(Note I used a shortcrust pasty to line my pie dish, but after tasting, next time I make this, I think I'd use a biscuit base, similar to what you would use in a cheesecake) 


Biscuit Base

500g Sweet Biscuits (Marie, Rich Tea, Digestives etc)
250g Butter


1. Crush biscuits in food processor until they resemble fine breadcrumbs.
2. Add butter to food processor and blend until combined.
3. Press biscuit mixture into a lined spring-form cake tin or pie dish.

Pumpkin Pie Filling

1kg Pumpkin (any kind) I also used a sweet potato as part of my 1kg for something different.
1 397g tin of sweetened condensed milk
2 large eggs
2 teaspoons ground cinnamon
1 teaspoon ground nutmeg 
½ teaspoon salt
2 tablespoons brown sugar
50g butter

1. Boil pumpkin with 1 tablespoon of brown sugar until soft.
2. Blend pumpkin in food processor until smooth.
3. Add all ingredients (eggs last)
4. Pour into prepared pie base.
5. Bake in a preheated oven at 160°C until the center become firm.
(I baked mine for about an hour and ten minutes, but it was quite deep and large, so timing will vary from pie to pie. If it is starting to brown, cover with foil to finish the baking)

Best served with whipped cream and nuts! Happy Baking! xxx


Sunday, 4 November 2012

Chiffon Cake with Meringue Frosting

Hello cakelets! This week I bring to you maybe my favourite recipe ever! Until a few weeks ago I had never even heard of a chiffon cake until I watched "The Great British Bake Off" so I thought it would have to be the next cake on my agenda. Now part of my caking and baking is to look at a standard base recipe and either change quantities, add or remove things to make it my own and hopefully better, so I can pass it on for all to enjoy. Chiffon cake is the lightest and fluffiest cake I have ever made and it worked perfectly with the fluffy meringue frosting. It is one of those cakes which when you cut into it leaves no crumbs behind and when you bite into it, and it practically dissolves when you eat it, it's like eating a big fluffy vanillery cloud... if one could ha!


Chefette's Chiffon Cake & Meringue Frosting


1 ½ cups plain flour
½ cup corn flour
1 ½ cups caster sugar
1 tablespoon baking powder
½ cup vegetable oil
7 eggs separated
¾ cup cold water
2 ½ teaspoons vanilla bean paste
1 teaspoon cream of tartar


1. Preheat oven to 165°C, and grease and line your cake tin/s with baking paper.

2. Sift flour, sugar and baking powder into a large mixing bowl and make a well.

3. Add oil, egg yolks, water and vanilla to the well, fold mixture until smooth. Set aside.

4. In an electric mixer beat egg whites and cream of tartar until stiff.

5. Gradually add egg white mixture, to the other ingredients, carefully folding in with a spatula. (It is crucial to fold rather than mix to ensure the air is left in the cake batter.)

6. Pour mixture into cake tin/s and bake until a skewer comes back clean or when cake springs back. 

(The timing will depend on the size of your cake tin, for example, I divided my mixture into 6 small portions for baking in sandwich tins and each took only 10 minutes or so.)

Meringue Frosting

(This is the first time I have used Meringue Frosting and credits to my cousin from Back In G-Town for the recipe. It is a difficult frosting to pipe with because it is so soft, which is why the piping looks a bit shabby. I think this kind of frosting is best with a “rustic effect”)

2 cups caster sugar
1/2 cup water
1 teaspoon cream of tartar
6 egg whites


1. Place the sugar, water and ½ teaspoon of cream of tartar into a saucepan over high heat. Stir until sugar is dissolved. Bring to the boil, then reduce heat to low and simmer for 3 mins.

2. Place egg whites into an electric mixer with the remaining ½ teaspoon of cream of tartar and beat until soft peaks form.

3. With the motor running gradually add the sugar mixture and beat until thick and glossy (Keep beating until it is fairly thick.)

(Frosting is best used right before serving and should be kept at room temperature)

Now if you want to make a rainbow version of this cake like I did, please see this post for assembly instructions!

Meringue Frosting in action!
Layer upon layer upon layer...
Voila.... Finished product!
Silly me forgot to take a photo of the inside with the SLR until the day after. So this is the day after, following a very windy car trip which is why it is a little bit wonky and melted haha! I just wanted to show the inside colours really.
Happy Caking! xxx


Monday, 29 October 2012

Salted Caramel Latte

If you're starting to feel the cold like I am over here in the UK, or if you're a genuine coffee enthusiast, you will love this recipe! I have never craved Starbucks so much in my life as I have since being over here, but as you will know these coffees can become uber pricey. I worked out that if I was to have a Starbucks coffee every week day in the UK, that would be $25 AUD in coffee alone! I have been addicted to the Salted Caramel Mocha lately, but I am finding them a bit too powdery, so I have come up with this recipe for my own for a Salted Caramel Latte which you can make at home for a fraction of the cost. Obviously this recipe is to my tasting so you can obviously modify the quantities to your own liking!

Salted Caramel Latte

(Makes 1 Large Mug)

1 cup warmed frothed milk
1/3 cup of percolated coffee
1 1/2 tsp toffee sauce
1 shot of caramel syrup
Pinch of course ground rock salt
Canned whip cream for topping


1. In the mug or cup in which you will drink your coffee from, place the toffee sauce, caramel syrup and pinch of rock salt and mix to combine.
2. Add your desired amount of hot percolated coffee to the mug and mix with the toffee and caramel.
3. Using a plunger, froth the warm milk and pour into the coffee mug.
4. Make sure you have a nice layer of milky froth on top of the coffee which will allow the cream to float on top rather than sink and melt straight away.
5. Pipe a generous amount of whipped cream on top of your coffee.
6. Drizzle some toffee sauce on top of the cream and add a tiny pinch of salt to complete this yummy winter warmer.

One of my favourite things about this coffee is the smell that it leaves in the room hours after drinking, delicious indeed! 


Devilled Chicken

Hello chefettes! Apologies for the lack of posting lately. As some of you may know, I have moved to the UK, so I have been BUSY, BUSY! I have been here for almost two months now, I have done lots of eating out, so only now, I have started getting back into the kitchen. The food here and grocery stores are quite different to what is available in Australia, but I'm hoping to bring you some new and exciting recipes from the UK which you can try at home. So I bring you my first recipe from England... Devilled Chicken! I thank Waitrose for the inspiration for this recipe. Now I have made some variations from the original recipe and when I first saw the ingredients I was less than inspired, but when it all comes together, this chicken dish is SO flavourful and easy, I'm sure it'll become a staple in your home as it is becoming in mine. Now if you have peeps in your house or little kidlets who don't like spice, you can either reduce the amount of Cayenne Pepper or cut it out completely!


Devilled Chicken

8 chicken thigh fillets (or any chicken pieces)
3 tbsp Worcestershire Sauce
3 tbsp Tomato Sauce (Ketchup)
3 tbsp Apricot Jam
1 1/2 tbsp Soy Sauce
1/2 tsp Cayenne Pepper
Salt & Pepper to season


1. Preheat oven to 
180°C, and arrange chicken pieces on a baking tray so they are not touching.
2. Combine Worcestershire sauce, ketchup, jam, soy sauce, cayenne pepper, salt & pepper.
3. (This step really depends on how much time you have) You can either pour the marinade over and pop straight in the oven OR you can pour the marinade over and leave chicken in the fridge until required.
4. Bake in the oven until browned, for example for my 8 chicken thighs I baked them for 45 minutes. (Larger chicken pieces may need extra time)
5. Best served with loaded jacket potatoes!

I hope you enjoy this recipe, I LOVE it! Now I haven't personally tried this yet, but I think this would be great on the BBQ and would really bring out those flavours!


I'm not sure why my iPhone insisted on taking such a dark photo, but the chicken was more of a dark red in "real life" and not so charred looking!


Related Posts Plugin for WordPress, Blogger...