Friday, 12 April 2013

Nigella Lawson's Coca Cola Ham

So you probably read the title and thought "Ham? But it's April. Ham is a Christmas thing." Well, yes traditionally ham does come out at Christmas time, but why should it just come out during the festive season. Growing up in an Italian family, ham is not something we ever had at Christmas, it's just not our thing, our thing is lasagne and lamb and loads of other Italian goodies, so we never fully embraced the ham, and what a shame. This past Christmas I was in charge of making the ham, I had never made one before and I wasn't even sure I'd even sure I'd eat it, but I did and I loved it! I went to the trusty Nigella Lawson website and followed her Ham in Coca-Cola recipe, step-by-step and it turned out perfectly, so much so that I even made it this past weekend as a bit of a care package for someone. Considering how much meat is actually in a ham, it was actually really cost-effective and using this recipe made it oh so tasty, don't diss the coke until you've tried it!


(Adapted from the Nigella Lawson recipe featured here. Recipe credits from nigella.com)

  • For the ham
  • kilograms mild-cure gammon or ham
  • onion (peeled and cut in half)
  • litres coca-cola

For the glaze 

  • handful of cloves (I left them out)
  • heaped tablespoon black treacle
  • teaspoons english mustard powder
  • tablespoons demerara sugar or raw sugar 

1. Put the gammon in a pan, skin-side down if it fits like that, add the onion, then pour over he coke. Bring to the boil, reduce to a good simmer, put the lid on, though not tightly, and cook for just under 2½ hours. (If your ham is larger or smaller, work out timing by reckoning on an hour per kilo, remembering that it's going to get a quick blast in the oven later. but do take into account that if the gammon's been in the fridge right up to the moment you cook it, you will have to give it a good 15 minutes or so extra so that the interior is properly cooked.)


2. Preheat the oven to 240°c/gas mark 9. When the ham's had the appropriate amount of cooking time, take it out of the pan and let cool a little for ease of handling. 


3. Remove the skin, leaving a thin layer of fat. Score the fat with a sharp knife to make fairly large diamond shapes, and stud each diamond with a clove. Then carefully spread the treacle over the bark-budded skin, taking care not to dislodge the cloves. gently pat the mustard and sugar onto the sticky fat. 
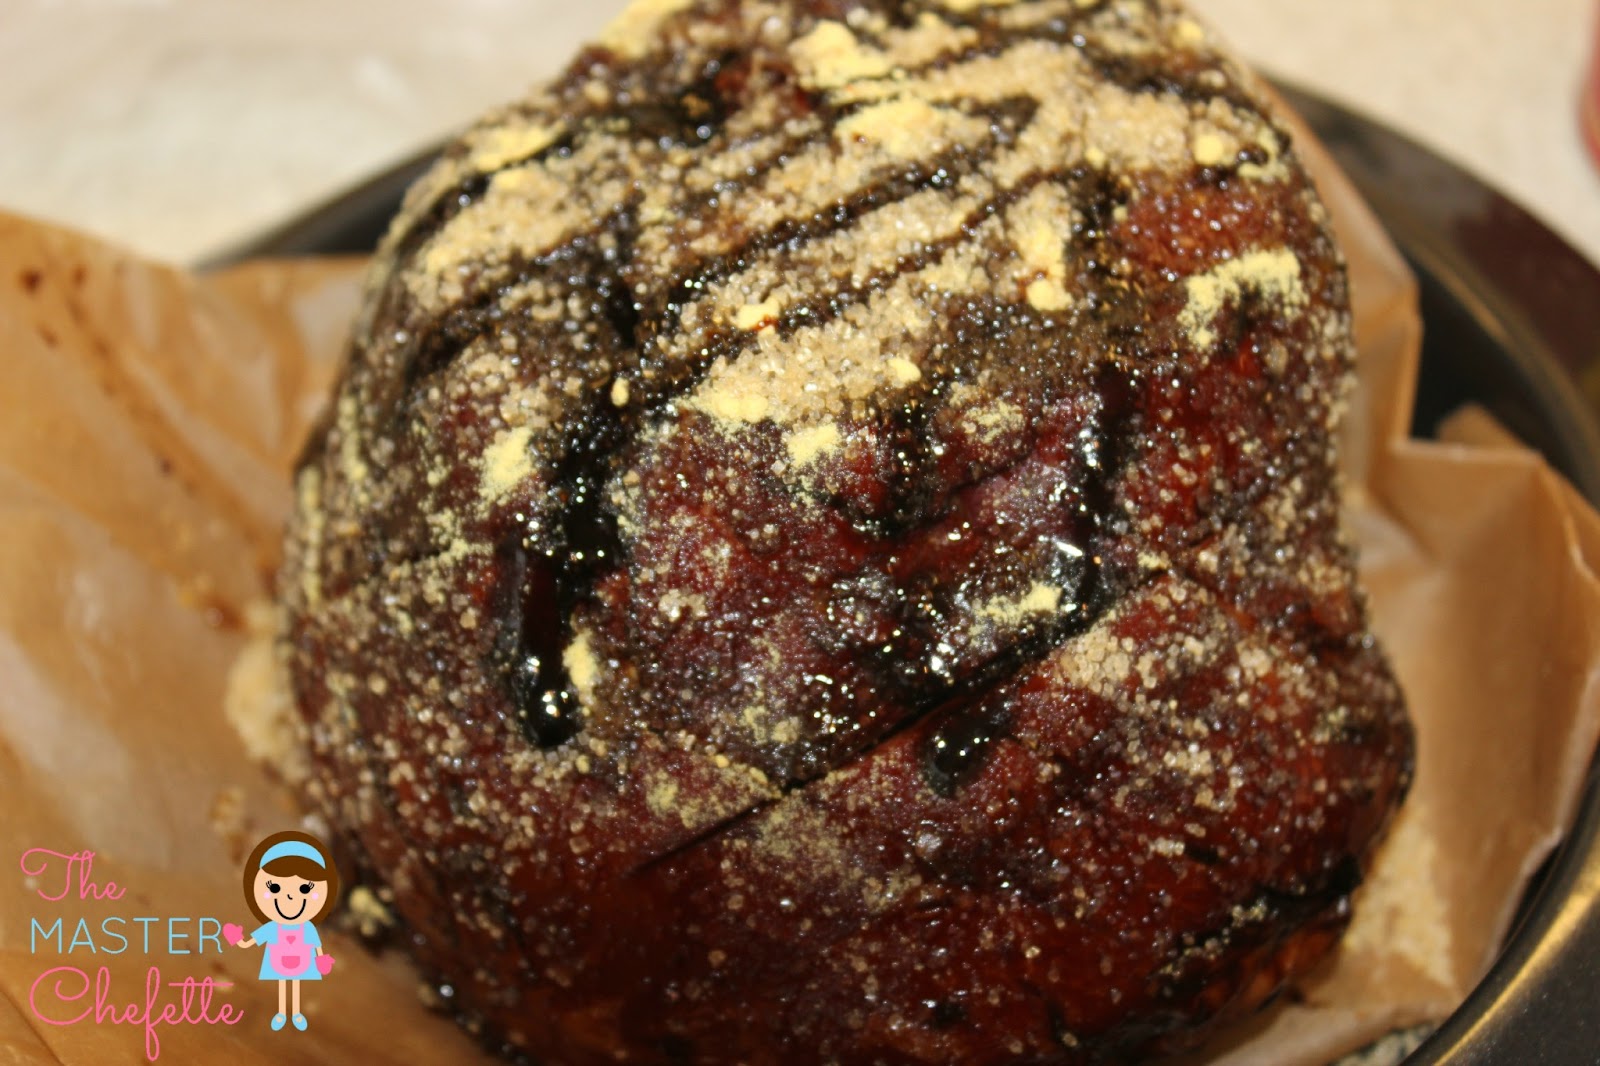

4. Cook in a foil-lined roasting tin for approximately 10 minutes or until the glaze is burnished and bubbly.


              Thursday, 4 April 2013

              Classic Red Velvet Cake with Marscapone & Cream Cheese Frosting

              Red Velvet Cake is one of those deliciously rich and luscious "special cakes" that people will seldom attempt at home. The Red Velvet cake is thought to have originated at the famous Waldorf Astoria Hotel in New York where it was coined "Waldorf Astoria Cake" funnily enough, but many consider the cake to be a treat from the south. I hadn't made this cake in ages, but recently made it over the Easter weekend for some friends. The Cake was tasted by my friend Whitney who is actually from the south, who gave it the big southern thumbs up of approval. Check out Whit's foodie blog over at Whit's Critiques. Red Velvet is not a cake you should be scared of making at home, it is super easy and super tasty, especially with that delectable Marscapone and Cream Cheese frosting. This cake has more of a rustic look to it since the frosting is much lighter than a regular buttercream, but oh so delicious!


              Red Velvet Cake


              2 ½ cups self raising flour
              2 ½ tablespoons cocoa powder
              1 teaspoon salt
              1 ½ cups caster sugar
              2 eggs
              120 grams salted butter
              1½  teaspoons vanilla extract
              1 cup buttermilk
              1 teaspoon white vinegar
              1 teaspoon bi-carb soda
              2 tablespoons (or more) of pillar box red food colouring

              Frosting:

              250 grams cream cheese (room temperature)
              230  grams mascarpone cheese (room temperature)
              1 ½ cups double cream
              1 cup icing sugar
              1 teaspoon vanilla extract

              1. Preheat oven to 175° Celsius.
              2. Line two 9 inch cake tins with baking paper and spray lightly.
              3. Sift the flour, salt, and cocoa powder into a bowl and set aside.

              4. In an electric mixer cream the butter and sugar.

              5. Add the eggs one by one whilst the mixer is still on.
              6. Add the vanilla extract and beat until combined making sure to scrape down the sides of the bowl.
              7. In a measuring jug whisk buttermilk and food colouring until combined.


              8. With the mixer on low speed, alternately add the dry mixture and wet buttermilk mixture to the electric mixing bowl, a small amount at a time until combined. Once combined turn off the electric mixer.


              9. Combine the vinegar and bi-carb soda in a cup, once combined and fizzy, fold into the cake mixture with a spatula.

              10. Divide cake batter evenly between the two or more cake tins and smooth the tops with a spatula (I used three tins)

              11. Bake in oven for approximately 25 - 30 minutes or until cake springs back or skewer comes out clean once inserted into the center.


              12. Allow to cool on racks and then wrap each cake in glad-wrap and refrigerate cake and frosting overnight or for a few hours.
              13. After refrigeration sandwich cakes together with a layer of frosting in between each, I also shaved some of the cake off the tops to make it flatter and more importantly for crumbling on top.

              14. Serve and enjoy!

              Frosting
              1. In an electric mixer, beat the cream cheese and mascarpone cheese until smooth.

              2. Add the vanilla and icing sugar and beat until smooth.
              3. Gradually add double cream and whip until the frosting smooth and thick.
              4. Add more cream or sugar according to taste and consistency (note: frosting will thicken slightly, overnight in fridge)


              Sunday, 24 March 2013

              Easter Nest and Mini Egg Vanilla Cupcakes

              A few weeks ago I saw the cutest picture on Pinterest, it was a cupcake with a gorgeous little frosted nest and mini eggs in the center, the perfect treat for Easter! I knew I HAD to try and create it, so I got my eBay on and ordered my Wilton grass/hair 233 piping nozzle. I had a very trusty co-Chefette in the form of Lisa and we baked these little babies for a work "Bake Off". Again, I used my favourite vanilla cupcake recipe from Rosie at Sweetapolita, so all recipe credits to her magical baking talents for these little babies!


               Classic Vanilla Cupcakes


              (Recipe Credit: http://sweetapolita.com/2012/10/vanilla-bean-white-chocolate-birdie-cupcakes-and-video-tutorial/ )

              275grams or 2 ½ cups cake flour

              OR

              100 grams corn flour
              175 grams plain flour
              1 tablespoon baking powder
              ½ teaspoon salt
              1 cup full cream milk
              2 large egg whites
              1 whole egg
              1 teaspoon pure vanilla extract
              300grams caster sugar
              115 grams butter


              1. Preheat the oven to 350°F (180°C) and center the oven rack. Line 2 muffin/cupcake pans with your favourite standard-size cupcake liner, and put the first cupcake pan on a baking sheet. (You will place the second cupcake pan on the same sheet in the oven once the first tray is baked.)

              2. Sift the flour, baking powder and salt into a medium-sized bowl. Whisk together the milk, eggs and vanilla extract in a medium bowl or large glass measuring cup.


              3. In an electric mixer fitted with the whisk or paddle attachment (I used the whisk), cream the butter and sugar on medium speed until very pale and creamy, about 5 minutes.


              4. With the mixer still on medium speed, alternate additions of the flour mixture and milk-egg mixture, beginning and ending with the flour mixture (3 dry additions, 2 wet), beating after each addition until incorporated. Continue mixing on medium speed for 2 minutes.


              5. Divide batter evenly among your cupcake liners–about 2/3 full–and bake until a toothpick comes out with a few crumbs only, about 16 minutes.


              6. Carefully remove the cupcakes from the pan and let cool on wire racks. Repeat with second tray.


              White Chocolate Frosting

              227 grams unsalted butter, at room temperature
              175 grams white chocolate
              ½ vanilla bean, seeded and scraped
              Pinch of salt
              375 grams sifted icing sugar


              1. In the bowl of an electric mixer fitted with the paddle attachment, whip butter for 3-4 minutes on medium speed (I use “4″ on my KitchenAid). Butter will become very pale & creamy.
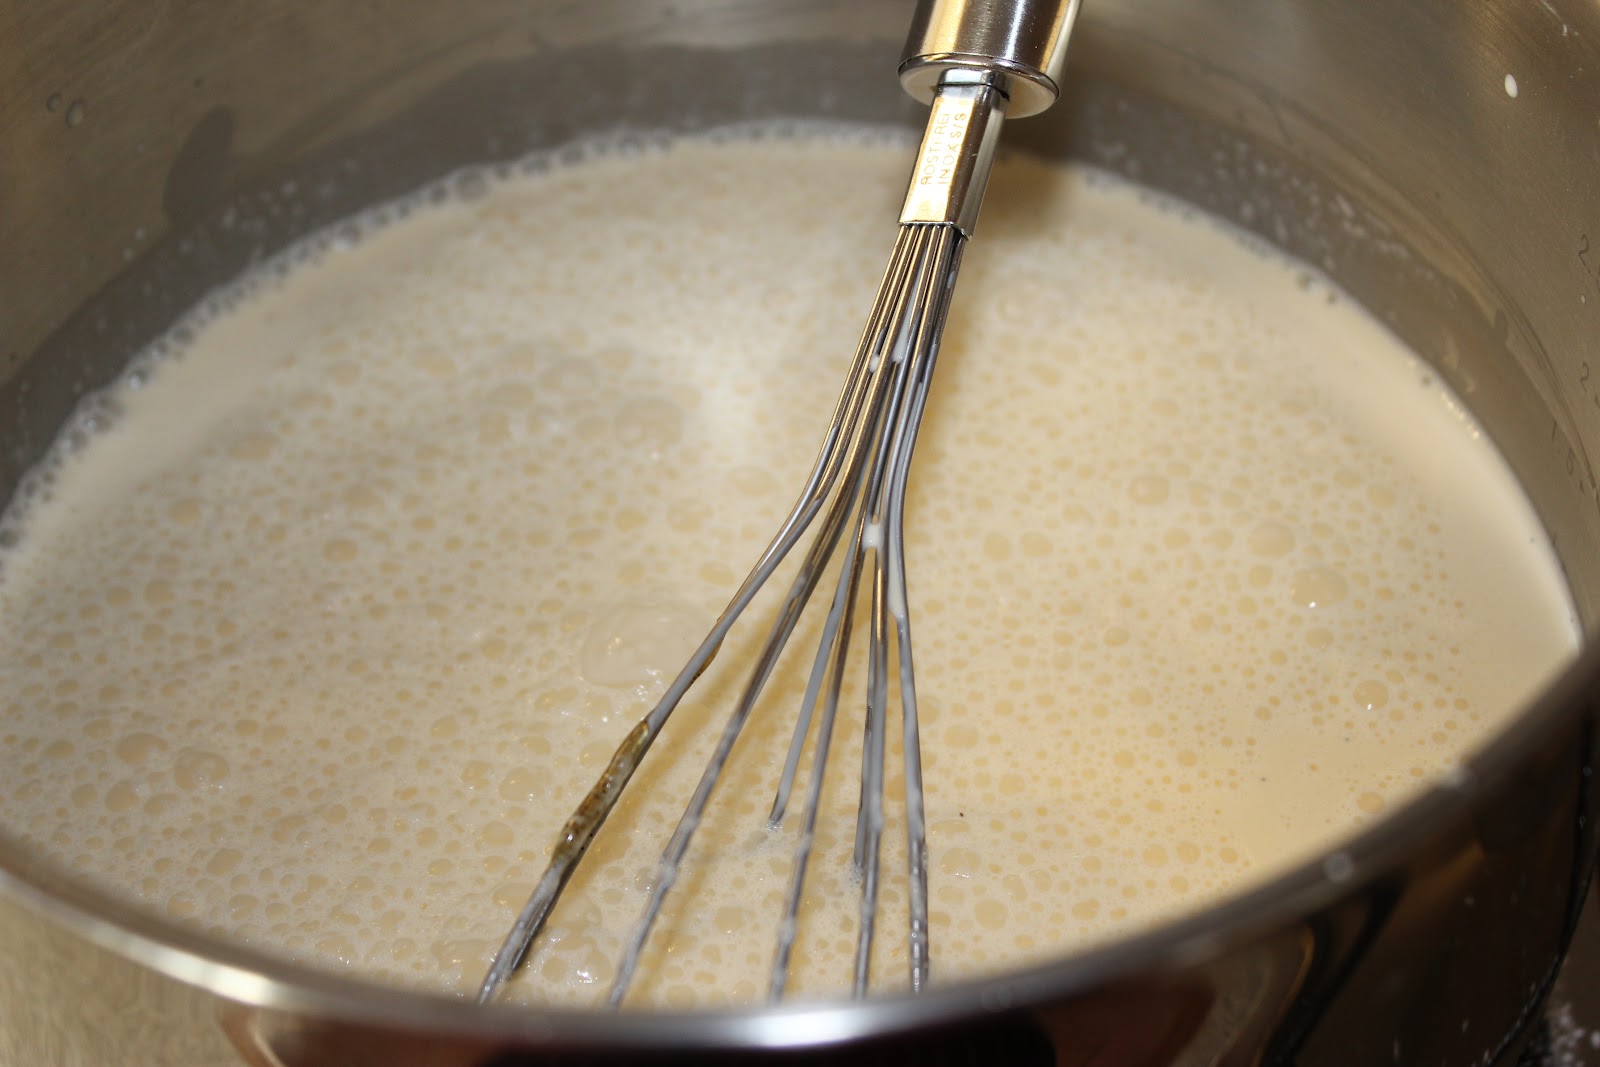
              2. Melt chocolate in microwave in a small heatproof bowl, or over a pot of simmering water on the stovetop, stirring often. Let cool.

              3. Add melted chocolate to butter and beat until incorporated. Add vanilla bean and salt and mix on medium speed for 1 minute. Add sifted icing sugar, beating on low speed until just combined, increasing to medium speed until well combined. (I added some pink food colouring to mine and piped the frosting on top using the Wilton rose attachment)

              (I added dark chocolate to a portion of the frosting to make the nest, and green food colouring to the rest to make the base)


              Monday, 18 March 2013

              Italian Layered Continental Cake

              If you're Italian or if you've been brought up around Italians, this kind of cake should be very familiar to you. To be honest, I actually hated this cake growing up, but it was one I had to cross off the list and make for myself, well it was actually for my Nonna. It was really yummy, moist and light and had the perfect balance of flavours. It's sponge, crema di pasticceria, vermouth, frosting, almonds, chocolate and strawberries, LOADS of yummy flavours going on. There are three main components to this cake and I highly recommend making the Crema di Pasticceria first, this wasn't a quick cake by any means, but it was a labor of love, and the whole family enjoyed it! Happy Baking!


              Crema di Pasticceria

              1/3 cup cornflour
              1/3 cup of custard powder
              1/4 cup caster sugar
              2 cups milk
              2 teaspoons vanilla bean paste or essence
              300ml cream
              1 egg yolk (beaten)
              2 tbls of liquor (only if you like)

              (150g of mixed dark/milk cooking chocolate for half the mixture to be chocolate flavoured)

              1. Sift cornflour, custard powder, and caster sugar into a pot and stir to combine.


              2. Gradually add milk and whisk until smooth and free from lumps.


              3. Add vanilla bean and cream and continue whisking until combined.


              4. Turn heat on. Whisk over a low heat until mixture begins to thicken and simmer.


              5. Remove pot from heat and allow to cool slightly before adding the beaten egg yolk. Mix well.

              6. Separate mixture evenly into two bowls.

              7. Pour in melted chocolate into one of the bowls to make a chocolate version of the crema di pasticceria.


              8. Cover bowls with cling film and refrigerate either over night or for several hours. Don't worry if mixture is slightly lumpy at this point.


              9. Remove from fridge and place mixture into an electric mixing bowl and beat for a few minutes. This will remove any lumps from the cream and will make the mixture smooth and easy to pipe.


              Chiffon Sponge Cake

              1 ½ cups plain flour
              ½ cup corn flour
              1 ½ cups caster sugar
              1 tablespoon baking powder
              ½ cup vegetable oil
              7 eggs separated
              ¾ cup cold water
              2 ½ teaspoons vanilla bean paste
              1 teaspoon cream of tartar


              1. Preheat oven to 165°C, and grease and line your cake tin/s with baking paper.

              2. Sift flour, sugar and baking powder into a large mixing bowl and make a well.

              3. Add oil, egg yolks, water and vanilla to the well, fold mixture until smooth. Set aside.

              4. In an electric mixer beat egg whites and cream of tartar until stiff.

              5. Gradually add egg white mixture, to the other ingredients, carefully folding in with a spatula. (It is crucial to fold rather than mix to ensure the air is left in the cake batter.)

              6. Pour mixture into cake tin/s and bake until a skewer comes back clean or when cake springs back. 

              Swiss Meringue Buttercream

              250 grams unsalted butter (room temperature)
              120 grams caster sugar
              1 teaspoon vanilla bean paste / vanilla extract
              2 egg whites


              1. Add caster sugar and egg whites to a heatproof bowl over simmering water.
              2. Whisk until sugar has dissolved into the egg and the mixture has been warmed to an approximate temperature of 60C or 140F.
              3. Transfer mixture to electric mixing bowl and fit with the whisk attachment and beat for around 3-4 minutes. The mixture should be bright white in colour and quite stiff.
              4. Ensure the bowl has cooled down enough before proceeding. Divide the butter into 8 small blocks and ensure mixer is on medium speed.
              5. Gradually add the butter, one block at a time, ensure each block has been thoroughly mixed through before adding the next.
              6. NOTE, mixture will begin to look curdled and that is completely normal by around block number 5 of butter.
              7. Once all the butter has been included, add the vanilla (or desired flavouring) and leave to mix for 4-6 minutes. The buttercream will gradually go from curdled and chunky, to glossy and smooth, just keep mixing!
              8. Once complete add desired colourings and flavour.
              9. SMB is a great frosting to pipe with and smooth and I used it in between the layers of the cake for a subtle creamy flavour.
              (Please note SMB is best served at room temperature and not refrigerated)

              Assembly

              Start by putting the first sponge down and generously brush or sprinkle the cake with vermouth. Layer with crema, then repeat with the rest of the cake and the crema. Then coat the cake in Swiss Meringue Buttercream and decorate as desired. As you can see I made some dark chocolate fans simply by sprinkling melted chocolate over some baking paper and leaving to set and I also used flaked almonds and strawberries to accentuate. 


              Related Posts Plugin for WordPress, Blogger...